Light Up Your Home: Recessed Lighting Installation Essentials

TL;DR: Recessed lighting is trendy for its modern look and versatility, fitting into any room design. Planning involves assessing space and choosing the right lights. Installation requires special tools and electrical knowledge. While DIY is an option, hiring a professional like Prime Electric ensures safety and compliance. Located in Woodland Hills, California, they offer expert installation services to brighten your home.
When you want to create a cozy and inviting atmosphere in your house or give it a contemporary vibe, the appropriate lighting can help transform a space. Recently, many homeowners across the US have been turning to recessed lighting solutions to achieve this effect.
According to the Department of Energy, there are an estimated 600 million recessed lights currently installed in homes throughout the country. But why this surge in popularity? Recessed lighting offers a sleek, streamlined look you can’t achieve with traditional fixtures.
It makes rooms appear brighter and more open without the clutter of visible lamps or fixtures. The bulbs are fitted neatly into the ceiling, offering a sleek and modern look while providing ample illumination.
This post will give you more information and advice on recessed fixture installation and how to light up your home. Recessed lighting installation essentials will set you on the right path to successfully install this major interior feature.
What is Recessed Lighting?
Recessed lighting refers to light fixtures installed into a hollow opening in a ceiling. When installed, it appears as if light shines from a ceiling hole, focusing the light downwards. Depending on the type of bulb and fixture used, it can shine a broad floodlight or a narrow spotlight.
Recessed lights come in various sizes, typically from 4 to 6 inches in diameter, allowing for a sleek and modern look that fits into any room design. There are two main types of recessed lighting fixtures to choose from, including:
- IC-rated recessed lighting fixtures, which means they can be safely installed in ceilings with insulation without risk of fire
- Non-IC-rated recessed lighting fixtures, which means they require a gap between the fixture and insulation.
Benefits of Choosing Recessed Lighting
Recessed lighting’s space-saving design is a significant advantage, especially in rooms with low ceilings where hanging lights might not be practical. These fixtures are flush with the ceiling and give a clean, unobtrusive look that appeals to minimalist aesthetics.
Recessed lighting is also incredibly versatile. You can use it for general lighting, task lighting over work areas, or accent lighting to light up i.e. accentuate certain aspects of your home. With advancements in LED technology, recessed lights have become more energy-efficient than ever, providing bright, high-quality light while reducing energy bills.
Planning Your Recessed Lighting Installation
When planning your recessed lighting installation, the first step is to understand what type of illumination your space needs and what is achievable. You must then figure out how to get the best possible light coverage.
Assessing Your Space
To begin with, consider the size of the area you’re lighting and the height of your ceilings. For larger rooms or those with high ceilings, you may need more lights or lights with a wider beam spread for adequate coverage.
Next, think about the room’s function. Is it a kitchen where you’ll be doing a lot of detailed tasks requiring bright, focused light? Or is it a living area where you want a softer, more ambient lighting setup? These are the kinds of details that will guide your planning process.
For instance, over a kitchen island or countertop, you’ll want more direct lighting compared to what you might prefer in a seating area.
Choosing the Right Lights
The lighting market has many bulb sizes and types, each achieving a pacific purpose and look. For general room lighting, you want larger bulbs that provide a broad spread of light, while smaller bulbs are more suitable for spotlighting artwork or other specific areas. The type of bulb, LED, halogen, or incandescent, will affect the quality and color of the light.
Another important factor is the bulb’s beam angle. A narrow beam angle can create a focused beam of light, perfect for highlighting objects or areas, while a wide beam angle provides a more general and diffused light. Brightness will also affect your choice. A brighter bulb can light up a larger area, but too bright can be uncomfortable, especially in a small or confined space.
Layout Design
Laying out your recessed lighting plan requires careful consideration to achieve an even and functional light distribution. A common mistake is spacing the lights too far apart, leading to uneven lighting with dark spots between the fixtures.
On the other hand, placing them too close together can result in too much light in some areas, making the space feel harsh and uninviting. In a room with 8-foot ceilings, you’d aim to space the lights approximately 4 feet apart. Start by placing lights around the room’s perimeter, about two to three feet from the walls.
From there, you can fill in the center of the room, focusing on the areas which need more light. Combining ambient, task, and accent lighting can dramatically improve the functionality and mood of a room.
The Installation Process
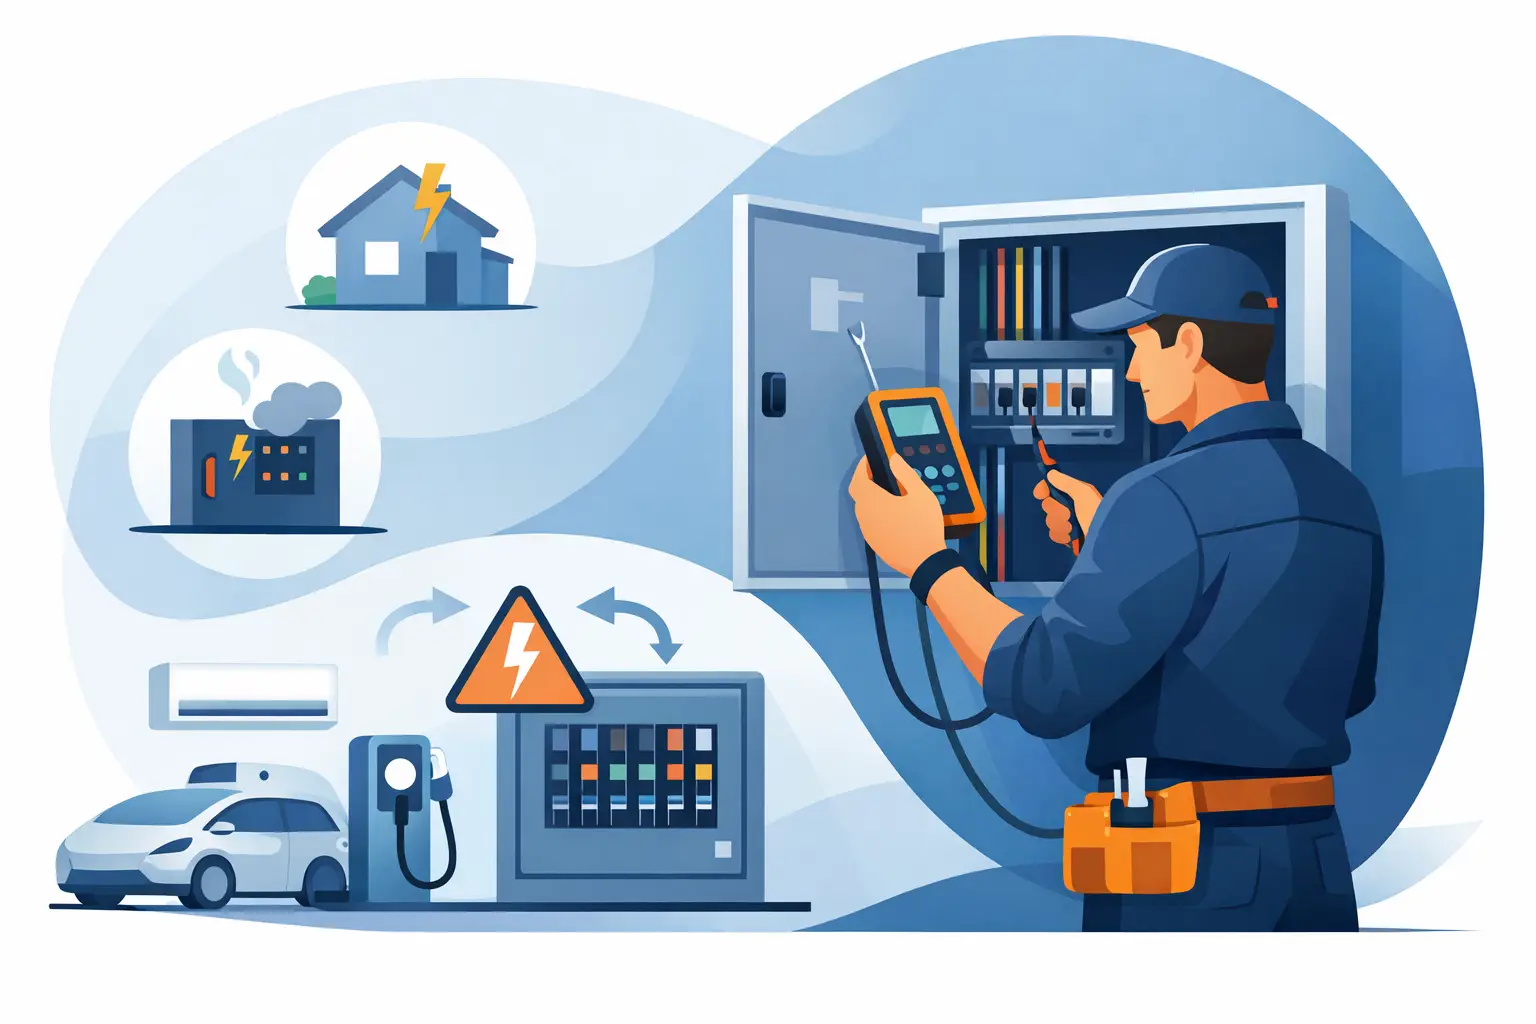
Installing recessed lighting is no walk in the park, mainly because you’re dealing with electricity, which always requires extra caution and know-how. Before you start, you’ll need some special tools and safety equipment.
You’ll need a drywall saw to make precise cuts in your ceiling, a drill for any necessary holes, wire strippers, a voltage tester (safety first!), and a screwdriver. As for safety equipment, get a pair of gloves to protect your hands, safety goggles to keep your eyes safe from debris, and a dust mask because you don’t want to be breathing in drywall dust all day.
Choosing the right wiring and fixtures is also a big part of the process. Select fixtures suitable for your space and meet all local building codes. As for wiring, opting for the correct gauge and type will prevent electrical mishaps.
Step-by-Step Installation Guide
Once you gather the tools and equipment you need for the installation process, you’re ready to start:
- Turn off the power – Safety always comes first, so completely shut off the power to the area you’re working on.
- Mark the ceiling -Plan where you want your lights to go and mark those spots on your ceiling. Accuracy here means less time fixing mistakes later.
- Cut the ceiling holes – Using your drywall saw, carefully cut out the holes where your lights will go based on the marks you made.
- Wire the lights – Run the wiring from one light to the next, securing and connecting as you go. Use your wire strippers and follow the wiring diagram that came with your lights.
- Install the housing and trim – Once your wiring is in place, install the housing into the ceiling holes you cut earlier, followed by the trim. This part should start bringing your project together visually.
- Test your lights – With everything installed, turn the power back on and test your lights to see if everything is working correctly.
Professional vs. DIY Installation
Installing recessed lighting yourself can save money upfront. You have control over the timeline and the exact materials used. However, it requires a solid understanding of electrical work, and mistakes can lead to safety hazards or not passing home inspections.
On the other hand, hiring a professional might cost more initially, but they have the expertise and often a warranty on their work. If your project is complex and involves a lot of fixtures, it’s wise to call in a professional. They can handle unexpected issues and keep the installation up to all necessary codes and standards.
Light Up Your Home
Hopefully, our guide helped you learn more about the essentials of recessed lighting installation.
If you want to brighten your space, nothing achieves a greater impact than recessed lighting. It offers a sleek, modern look and can transform any space, making it appear larger and more welcoming.
If you want to transform your home with the power of lighting, Prime Electric in Woodland Hills, California, can help you achieve the desired aesthetic. We will help you plan the optimal lighting set-up, install recessed lighting, and add other lighting features if you want. We know that electrical work is risky, so we are fully insured for the unlikely case of an accident.
Don’t get left in the dark, call us now, and let’s light up your world today!


Leave a Reply