LED Retrofit vs Recessed Lighting: Which Fits?

[ez-toc]
A lighting upgrade can look simple from the floor: swap a bulb, install a brighter trim, or add a few new ceiling lights. The decision behind led retrofit vs recessed lighting is more involved. It affects ceiling access, wiring, heat management, dimmer compatibility, project cost, and how finished the space will look when the work is done.
For many homes and businesses, the right answer is not choosing one category over the other. An LED retrofit is often installed inside existing recessed lighting. The real question is whether your current recessed housings are safe and worth keeping, or whether new recessed fixtures are the better long-term investment.
LED Retrofit vs Recessed Lighting: The Key Difference
Recessed lighting refers to fixtures installed into the ceiling. Traditional recessed fixtures have a metal housing, often called a can, mounted above the ceiling drywall. A bulb and trim sit below it. Newer options also include slim, canless recessed LED fixtures, commonly called wafer lights.
An LED retrofit is an upgrade made to an existing recessed housing. Instead of using a separate bulb and trim, a homeowner can install an integrated LED retrofit module. These units typically connect to the existing socket, fit into the current opening, and create a clean, updated appearance.
That distinction matters. If you already have properly installed, compatible recessed cans in the right locations, an LED retrofit can provide a major improvement without opening ceilings or running new wiring. If you are building out a room, correcting poorly placed lighting, or dealing with old housings and damaged wiring, installing new recessed lighting may be the more sensible route.
When an LED Retrofit Makes Sense
Retrofitting is usually the practical choice when the existing layout works. A kitchen with evenly spaced cans, a hallway with adequate light, or an office with functional recessed housings may only need a modern LED module to look and perform better.
The primary advantage is reduced labor. Because the housing and branch wiring are already in place, the electrician can often upgrade the visible portion of the fixture without cutting multiple new openings or accessing the area above the ceiling. LED retrofit modules also use far less energy than older incandescent or halogen lamps and generally require less routine bulb replacement.
For homeowners, the appearance can be a meaningful improvement. Many retrofit LEDs sit close to the ceiling and eliminate the deep, dated look of older baffle trims. They are available in several color temperatures, from warm light for living areas to cleaner neutral light for kitchens, garages, and workspaces.
Retrofitting is not automatically a plug-and-play job, however. The existing housing must be evaluated for condition, size, insulation rating, grounding, and compatibility with the new LED module. Older recessed cans can have brittle wiring, loose connections, heat damage, or outdated trim arrangements that should not be hidden behind a new light.
Check dimmers before changing fixtures
A common complaint after an LED upgrade is flickering, buzzing, limited dimming range, or lights that will not turn fully off. The source is frequently the dimmer, not the LED module itself. Older dimmers were designed around higher-wattage incandescent loads and may not communicate properly with modern LEDs.
An electrician can confirm whether the dimmer is LED-rated, verify fixture compatibility, and replace it where needed. This is especially worthwhile in kitchens, dining rooms, conference rooms, and other spaces where dimming is part of daily use.
When New Recessed Lighting Is the Better Choice
New recessed lighting is appropriate when there is no existing fixture, the present layout is inadequate, or the old housings are not worth preserving. It gives you control over where light lands rather than forcing the room to work around previous construction decisions.
This is often the better solution for a dark living room with a single central fixture, a remodeled kitchen with new work zones, or a commercial space where task lighting and even coverage affect productivity. New recessed fixtures can be positioned around cabinetry, counters, aisles, displays, workstations, and equipment rather than placed according to an outdated ceiling plan.
Slim canless LEDs are popular for remodels because they need less clearance above the ceiling than traditional cans. A small remote junction box connects the fixture to the electrical wiring, while the thin LED light mounts directly in the drywall opening. They can be especially useful where framing, ducts, plumbing, or limited ceiling depth make larger housings difficult to install.
Still, canless does not mean complication-free. Every fixture needs an accessible, properly secured junction box connection, appropriate circuit capacity, and a safe path for wiring. In a home with attic access, installation may be relatively straightforward. In a finished lower level, concrete structure, or commercial ceiling with multiple systems above it, labor can increase substantially.
Cost Depends on the Ceiling, Not Just the Fixture
A retrofit module generally costs less to install because it uses work that has already been done. That makes it attractive for replacing a number of functioning recessed lights throughout a property. The savings can disappear if the existing cans need repairs, the wiring is deteriorated, or several dimmers must be upgraded.
New recessed lighting has a wider cost range. Fixture price is only one piece of the job. The estimate may also account for locating joists, cutting openings, running cable, adding switches or dimmers, repairing drywall, working around insulation, and bringing the installation into compliance with current electrical requirements.
For property managers and business owners, it is also worth considering operating costs and maintenance access. An integrated LED fixture may run efficiently for years, but when it eventually fails, the fixture or module is replaced rather than just a standard bulb. Choosing quality, listed products and having them installed correctly helps avoid premature failures and inconsistent light color across a larger space.
Safety and Code Issues to Address First
Lighting is one of the most visible electrical upgrades in a property, but the important work is often above the ceiling. Recessed housings are designed for particular conditions, including insulation contact, lamp wattage, and trim types. Installing the wrong product can create heat concerns or damage components that are not visible from the room below.
Older non-IC rated cans, for example, may require clearance from insulation. Covering them with insulation can create an overheating risk. A retrofit does not erase that requirement. In other cases, a fixture opening may reveal splices, unsupported cable, missing grounding, or a junction box that is inaccessible after the ceiling is closed.
Bathrooms, kitchens, exterior soffits, and other damp or wet locations require fixtures rated for their environment. Commercial projects can add further requirements involving emergency lighting, occupancy controls, energy codes, ceiling types, and business operations. A qualified electrician can identify these issues before a lighting upgrade turns into a repair project.
Choosing Light Color and Output for the Room
The best fixture type will disappoint if the light itself is poorly selected. Brightness is measured in lumens, not just watts. A hallway may need modest, comfortable illumination, while a kitchen prep area, garage, workshop, or retail space may require more output and better light distribution.
Color temperature also changes how a room feels. Warm white light around 2700K to 3000K tends to suit bedrooms, living rooms, and hospitality settings. Neutral white around 3500K to 4000K is often preferred for kitchens, offices, utility rooms, and task-oriented areas. Higher color temperatures can feel sharper and more clinical, which may work for certain workspaces but not for every home.
If a room has several recessed lights, use matching modules from the same product line whenever possible. Mixing different LED colors, beam patterns, or dimming behavior can make a ceiling look uneven even when every fixture is technically working.
A Practical Way to Decide
Keep and retrofit existing recessed housings when they are in good condition, properly located, compatible with the new LED modules, and supported by sound wiring. This approach is efficient, clean-looking, and often cost-effective.
Choose new recessed lighting when you need better placement, additional fixtures, a cleaner ceiling profile, updated wiring, or a solution for housings that are damaged, obsolete, or incorrectly installed. For a larger remodel, designing the lighting plan before drywall, paint, cabinetry, or flooring work begins can prevent expensive changes later.
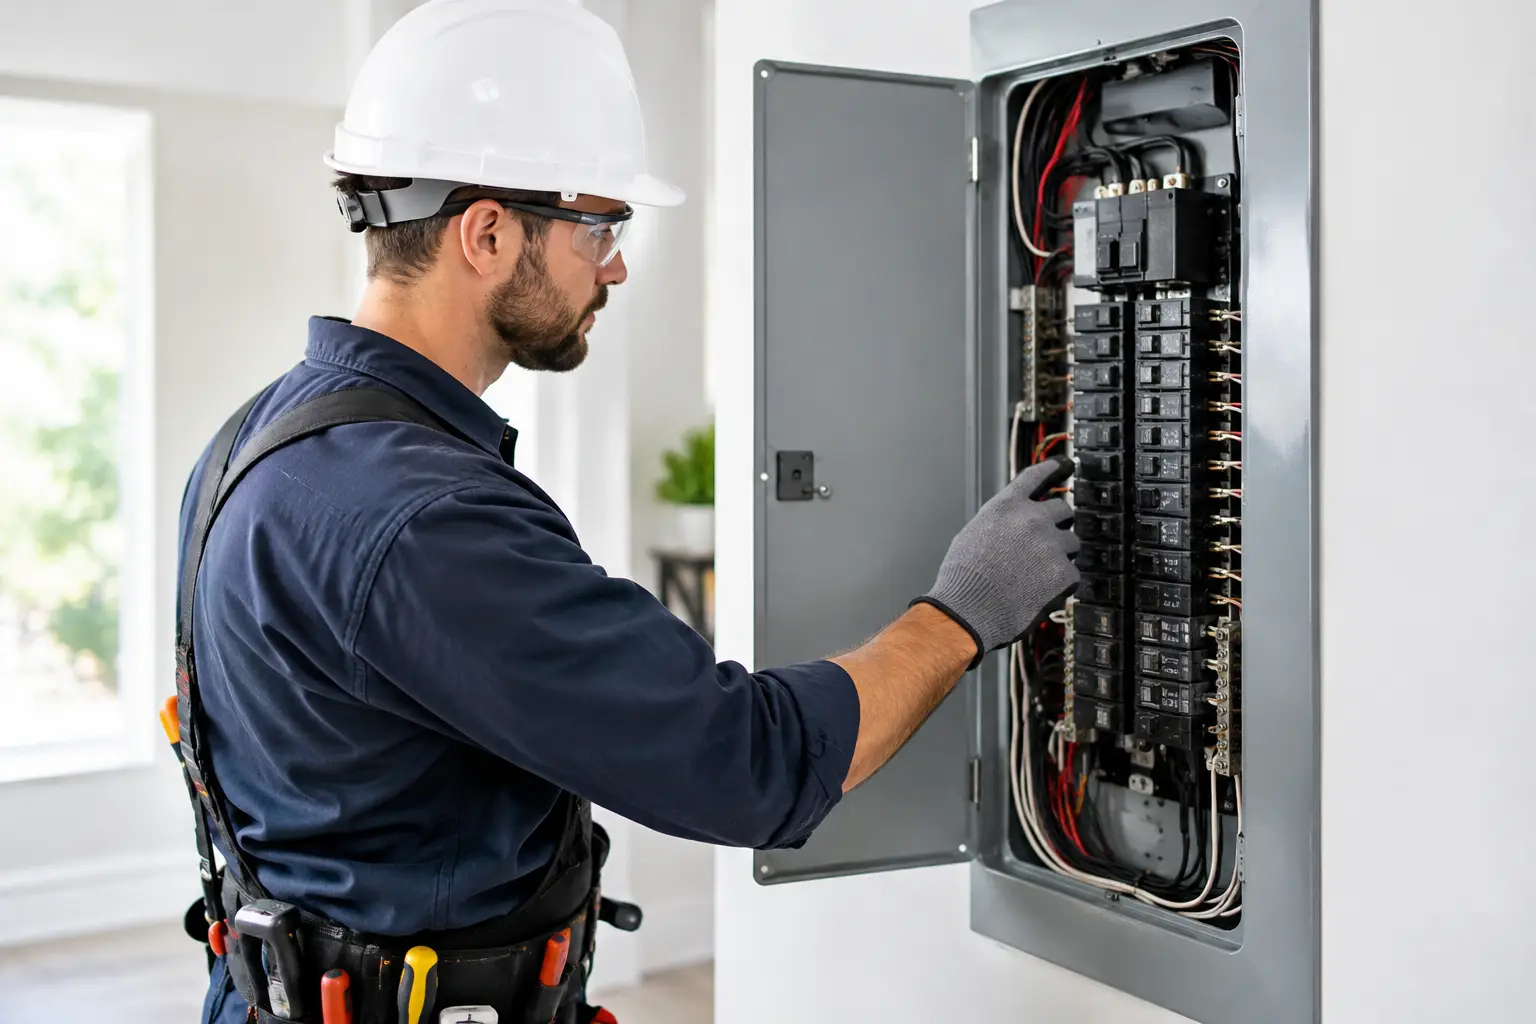
A professional evaluation is particularly valuable when lights flicker, breakers trip, fixtures feel unusually hot, ceilings show discoloration, or the home has older electrical work. Prime Electric provides licensed, insured lighting service for Los Angeles-area properties, with the experience to assess both the fixture you see and the electrical system supporting it.
The best lighting upgrade is the one that gives the room the right amount of light without creating hidden electrical compromises. Start with the condition of the existing system, then choose the option that will remain safe, attractive, and dependable long after the ceiling work is finished.